Contents - Index - Previous - Next
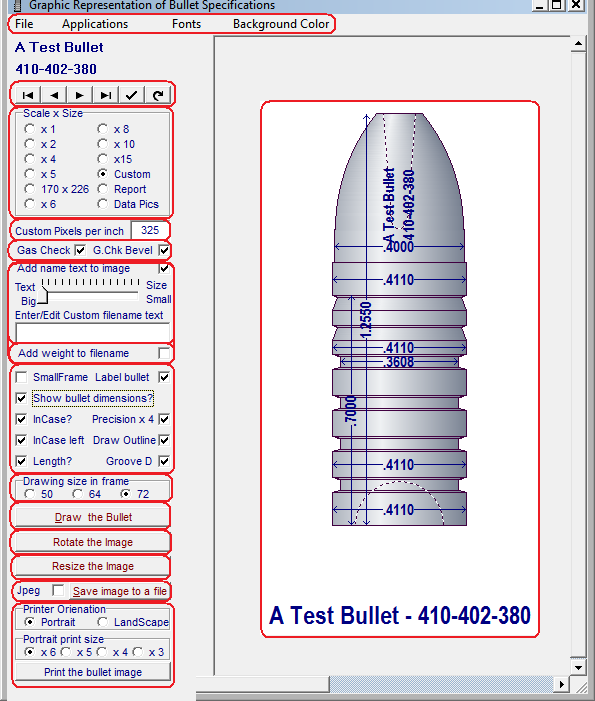
Drawing the bullet image
Click on each control or button outlined in the image below to jump to a description of the control function.
Click on Back to Image to return.
Menu Options for the Drawing Module:
![]()
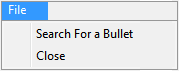
Search For a Bullet Opens the records searching module.
Close exits the drawing module
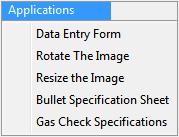
Data Entry ~ Return to the Main Form.
Rotate ~ Opens the Image Rotation Module.
Resize ~ Opens the Image Resize Module.
Specifications ~ Opens the Specification Drawing Sheet.
Opens the Gas Check Database Module.
![]()
Opens a Font Dialog form where the Label Font style, size and color may be selected.The selection will remain unchanged until this dialog is opened again.
![]()
Opens a Color Dialog form where the background color may be selected. The selection will remain unchanged until this dialog is opened again.
Navigating the Records database from the drawing module:
Use the Database Navigator to step through the database records and automatically draw an image as each record is opened.
Selecting the drawing size or scale of the bullet image:
Select the size or scale of the image to be drawn.
Each value indicates the drawing scale in pixels-per-inch as determined by the screen ratio of your computer.
The calculated pixels-per-inch value will be displayed in the pixels per inch display field. this field can only be edited when the "Custom" radio button has been selected.
The default value is 4.
To draw bullet image icons that are sized to fit the Precision Ballistics and Records bullet identity icons, select the "170 x 226" value.
Selecting "Custom" will allow editing of the "Custom Pixels per inch" field where the number of pixels per inch may be edited. Entering a value of 1000 will draw the image to a scale of 1000 pixels per actual inch of the bullet.
The "Report" and "Data Pics" values are specialized formats for the more advanced Bullet Design Professional Software.
Gas Check Drawing Options:
Checking the "Gas Check" box will draw a gas check on a bullet designed for a gas check.
If The bullet is designed for a gas check and the box is not checked, the gas check shank will be drawn.
Checking the "Gas Check Bevel" Box will draw a bevel equal to the slope of the sides of the grease grooves from the outer diameter of the base band down to the base of the gas check shank. If the box is not checked then the transition from the base band to the gas check shank will be 90 degrees.
Managing the file name and Label Font size of the image:
The initial label font size and style may be changed from the menu at the top of the form. When "No Margin" check box is not checked, and the "Add name text to the image" box is checked the bullet image is drawn with the vendor and index number as a label at the bottom of the image. The size of this label may be drawn larger or smaller by moving the slider in the sizing bar.
When the bullet is saved to a file, the software will automatically assemble a file name from the vendor name and index number of the bullet. The "Add weight to the filename" check box will also add the weight in grains to the filename.
A custom file name may be used by editing the field with the desired text.
Dimension labels displayed on the image:
To display dimension labels on the image, the "Dimensions ?" check box must be checked.
To display a label on bullet image nose when the "No Margin" check box is checked, the "Label Bullet" and "Add name text to image" checkboxes must be checked.
The "Precision x 4" checkbox will display bullet dimensions with 4 decimal places.
The "Length", "In Case" and "Groove Dia" checkboxes display those values on the bullet image.
The "In case to Left" checkbox moves the In-Case label from the right to the left side of the image.
Size of the image when drawn in a frame:
The image size within a frame may be adjusted with this radio group box. Experiment to discover what works best for the application.
Draw the bullet image:
After all parameters and values have been selected, click this button to draw the bullet image..
Saving the image as a file:
The "Jpeg" checkbox indicates if the file is to be saved in a Bitmap (bmp) or Jpeg (jpg) format when the "Save image to file" button is clicked.
Selecting Printer Options:
When the image as displayed is to be printed, first select the printer aspect and then if the image is to be printed in the portrait mode, select a printing size. the values may vary with the printer and print mode used.
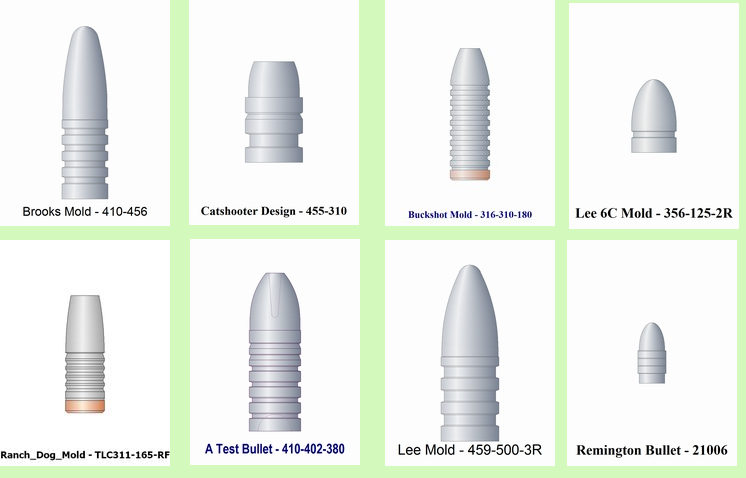
Sample Bullet Drawings:
Copyright ©, TMT Enterprises 2012