Contents
- Index
- Previous
- Next
Firearm Images
I m a g i n g P r o c e d u r e s
Firearm Images may be generated with a digital camera, copied from the Internet or scanned from photos. These pictures may then be saved as image files on your computer.
Before the images are copied into the Arms Records database, they must first be correctly sized, proportioned and then saved in a JPEG format. This may be accomplished through the use of an imaging program such as Windows Paint. Various other commercially available software programs such as Paint Shop Pro, Photo shop, etc. may also be used. The images contained in the personal software installation used for the screen snaps in this help file were generated with XNView software(http://www.xnview.com) simply because it worked better for this application than any software programs previously used.
The following steps will be outlined for using the Windows Paint Imaging software. The same general procedures may also be used with any commercially available software installed on your computer.
If a digital camera is used to generate images of the firearm or accessories, install and use the software provided with the camera to save the image files to a folder or directory such as My Documents\My Pictures on your computer.
If the firearm image that you wish to use is located on an Internet browser, right-click the image and save the image to the image folder on your computer.
If the image is scanned from a photograph, configure the scanner to save the scanned image to the image folder on your computer.
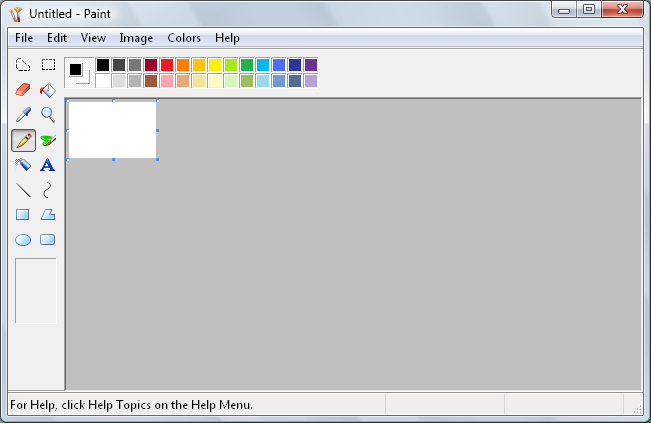
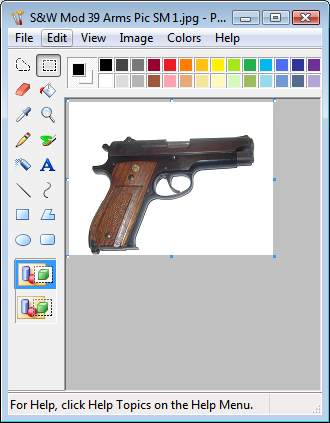
Go to Start - Programs - Accessories, select the menu item titled Paint and the following program should open.
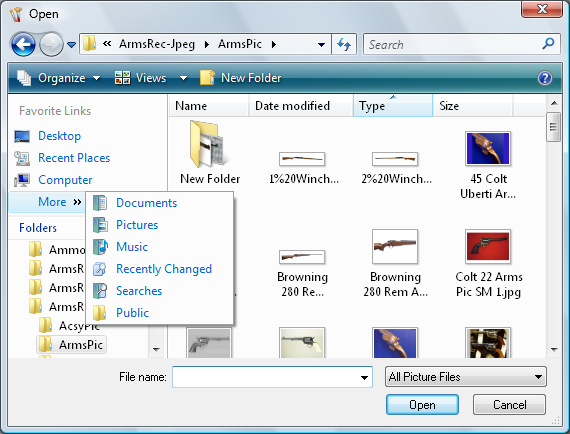
Click File and then click Open. A selection window should open to the My Documents\My Pictures directory where you saved your images from the camera, Internet browser or scanner. If the Paint software does not open to the correct directory, you may navigate to the proper folder by clicking the down-arrow in the Look in: field at the top of the window then follow the directory tree on your computer to the correct folder.
Locate, and open the firearm image file. It will most likely be quite large in size and not correctly proportioned to fit the image frames of the Firearm Records software. The frames on the left panel of the software are able to display the image either in the original size or, the image may be sized to fit the frame. If the image proportions are the same as the frame, there will be no distortion of the image when fitted to the frame. The software is compiled with 68 pixels to the inch.
The Image Frame sizes, in both pixel and inch sizes are as follows:
The vertical long gun image frame is : 119 x 476 pixels or 1.75 x 7.00 inches. = 1x4 units
The horizontal handgun image frame is 204 x 153 pixels or 3.00 x 2.25 inches. = 4x3 units
The image frames will shrink or stretch images that are correctly proportioned to fit the frame. Image sizes that are larger than the frames will display well but images that are smaller than the frames will loose definition as they are stretched to fit the frames.
After the image file is opened in the Paint program, click the Image menu and select Attributes. The image size may then either be added to or cropped to the correct PROPORTIONS using either pixel or inch units. The usable proportions of the images are as follows:
1 unit wide x 4 units high fit the long firearm images.
3 units high by 4 units wide fit handgun images.
(Most digital cameras produce images that are 3 units high and 4 units in width)
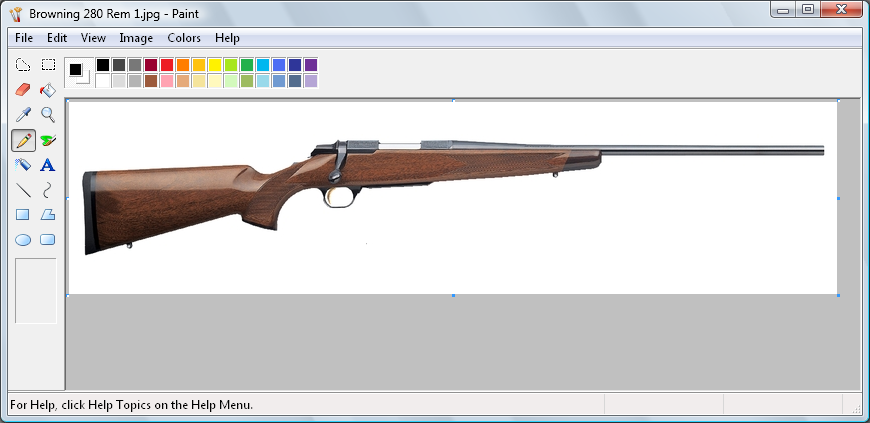
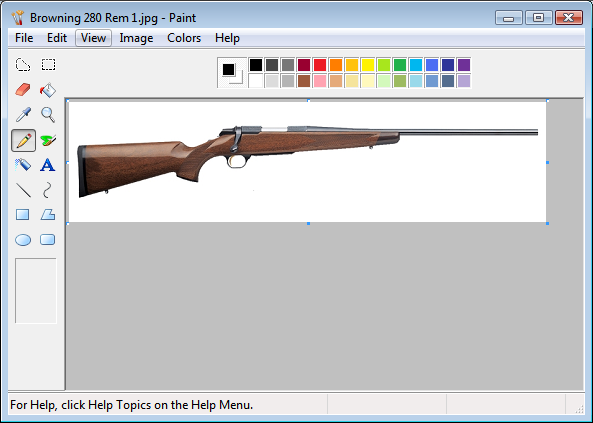
The image shown was copied from the Browning Arms web page that describes the Browning A-Bolt Medallion. To copy an image from the web, right-mouse-click the website image and select the popup menu item "Save as" then copy the image to a folder where you may select and edit the image with the Window's Paint software.
The Browning Rifle image was saved as a JPG file with the dimensions shown in the Image-Attributes window
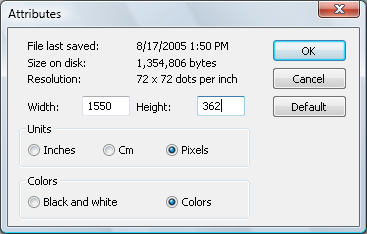
The proportions of this image were 1550 x 362. Dividing 1550 by 362 indicates that the proportions of this image are 1 unit x 4.28 units.
The proportions required by the rifle or shotgun Image frame are 1 unit x 4 units, so we divide 1550 by 4 which reveals that an image height of 388 pixels is required.
The height of the image is presently 362 pixels and needs to be increased to 388 pixels by adding 13 pixels to the top and 13 pixels to the bottom of the image.
Change the number in the Attribute Height window to 375 and click OK. This will add 13 pixels to the bottom of the image.
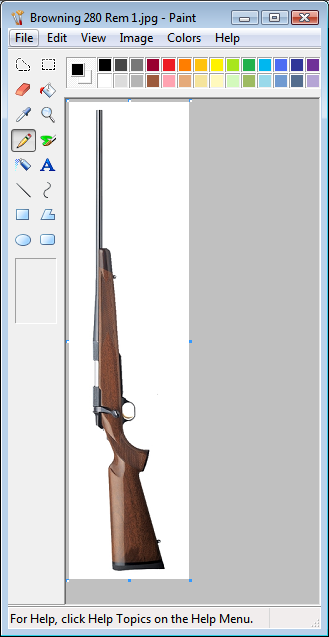
Next, select Image-Flip/Rotate-Flip Vertical-OK. The Image Attributes may now be used to add 13 pixels to the bottom of the inverted image by entering 388 in the Height window and clicking OK.
Using Image, Flip/Rotate, vertically flip the image back to the horizontal orientation.
The image is now correctly proportioned and may be used in the rifle/shotgun image frame. The rifle/shotgun image frame is 119 pixels by 476 pixels in height and the image being considered has a long dimension of 1550 pixels.
Although the image would be correctly displayed in the rifle/shotgun frame, unnecessarily large image files will soon bloat the database files. For optimum computer performance, this practice should be avoided.
After an image is determined to have the correct proportions, it may be sized to fit the various frames in the program by again clicking the Image menu and selecting Stretch / Skew.
The image in consideration now has an adjusted pixel size of 1550 x 388 pixels and may be re-sized down to a 119 pixels x 476 pixels dimension that will fit the Rifle Shotgun frame. Therefore, 119 divided by 386 returns 0.3067. Multiplying 0.3067 by 100 returns the percentage value of 31%.
Enter 31 into both the Horizontal and Vertical windows of the Stretch / Skew module and click O.K.

The image will now be sized to 120 pixels x 480 pixels. Using the Attributes and Flip procedures described above clip 1 pixel from the bottom, 2 pixels from the left and 2 pixels from the right of the image.
The image will then be correctly sized to exactly fit the Rifle Shotgun frame in the Arms Records software.
Using the Image~Flip/Rotate attribute, Rotate the image 270 Degrees and save the image as describe below.
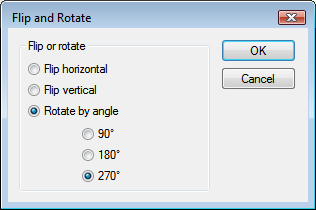
The image is now ready to be correctly displayed in the vertical frame on the left side of the Precision Records software.
Load a handgun image.
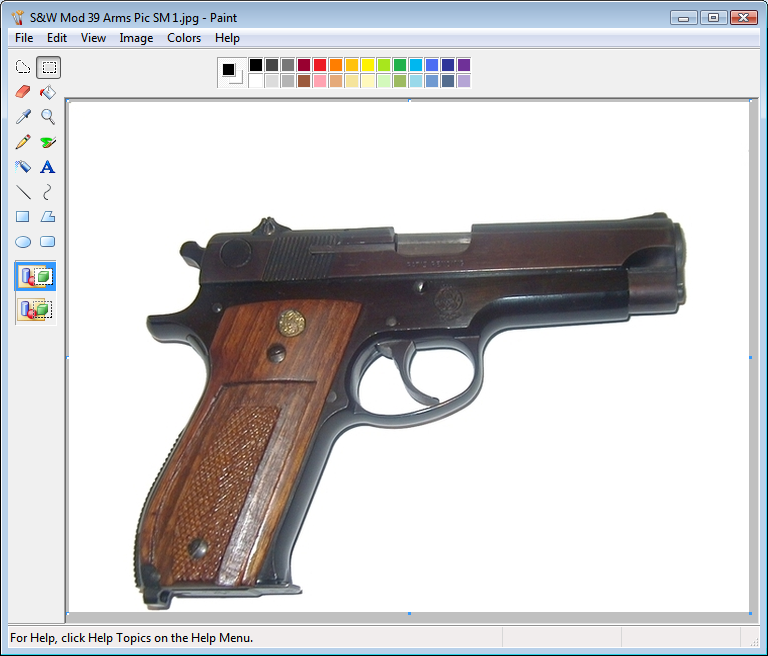
Use the same proportion and sizing procedures described above to size and shrink the handgun images to the 204 pixel x 153 pixel dimensions but do not rotate the images.
In order to be stored in the Arms Record Image databases, the image must be in the form of a JPEG file. The original image will most likely be a JPG file if generated by a digital camera or scanner, or if copied from the computer's Internet browser, the file may be either a JPG or GIF type.
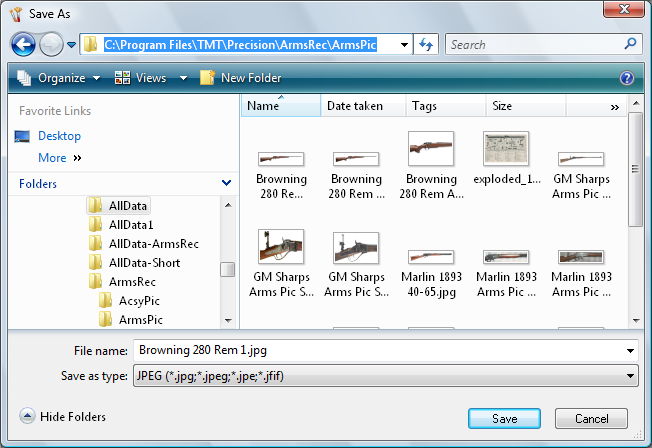
To convert the image to a JPEG file, click the File menu and select Save as.
A Navigation window will open enabling navigation to the ArmsPic folder in the C:\Program files(x86)\TMT\Precision\AllNew\Prec_Rec\ directory.
Type a descriptive name for the image in the File window. Next, in the "Save as type" window, select "Jpeg files ("*.jpg")
". Click "SAVE" and the file will be saved in the correct configuration and be stored where it may be easily located for entry into the Firearm Record database.
Copyright © 2002- 2016. TMT Enterprises. All rights reserved. Modified June, 2016